

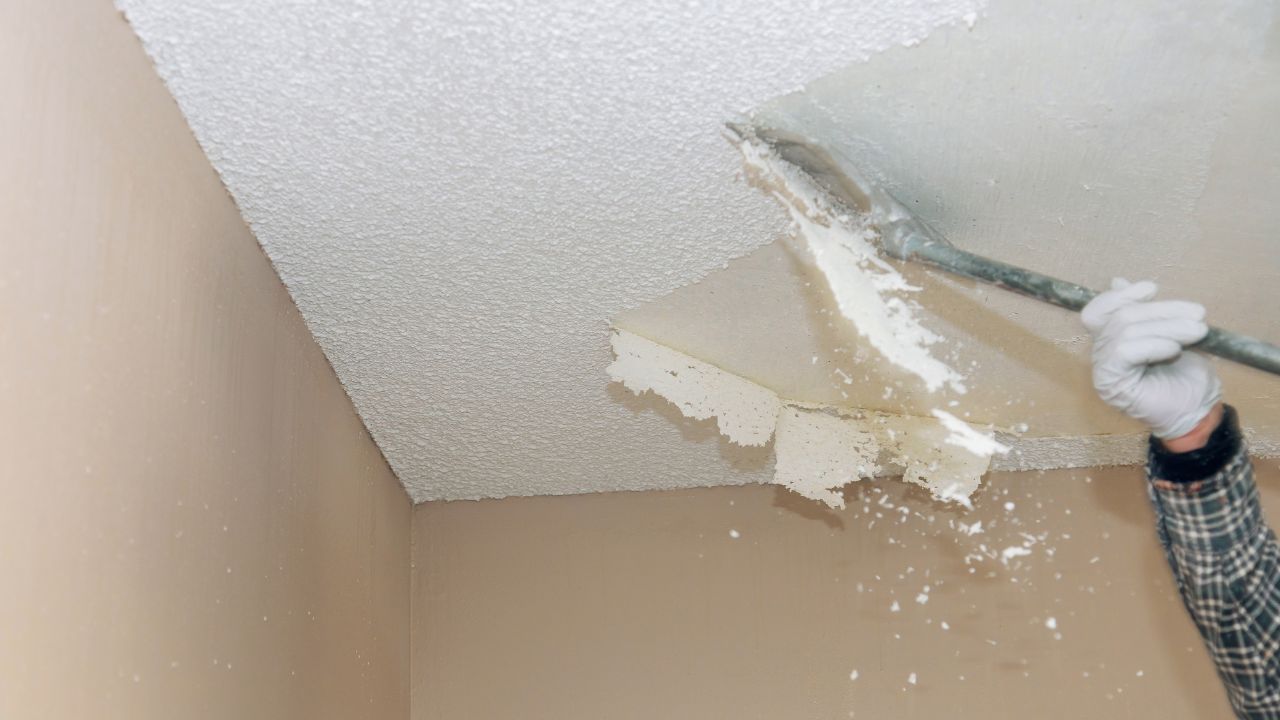
If you're living in a Vancouver home built before 1985, there's a reasonable chance you're looking up at a popcorn ceiling right now. That bumpy, textured surface was nearly ubiquitous in Metro Vancouver residential construction through the 1960s, 70s, and early 80s - prized for hiding drywall imperfections and dampening sound. Today, it's one of the most common renovation targets in the region.
Popcorn ceiling removal in Vancouver is a more involved process than most homeowners expect going in. The city's housing stock means a large proportion of these ceilings predate the phase-out of asbestos in building materials, which introduces regulatory and safety considerations that simply don't apply to newer homes. This guide covers what you need to know before the first scraper touches the surface.
If you'd like to understand what a professional interior finish looks like once a ceiling is ready to paint, take a look at the Pro Works interior painting services.

In much of Canada, popcorn ceiling removal is a fairly routine renovation task. In Vancouver, it requires an extra step that can't be skipped.
Popcorn ceiling texture applied before the late 1980s commonly contained chrysotile asbestos fibres - added for durability, fire resistance, and texture. When the material is undisturbed, the risk is low. When it's scraped, sanded, or drilled into, those fibres become airborne and pose a serious long-term health risk, including lung disease and mesothelioma.
The proportion of Metro Vancouver homes affected is significant. Over 67% of Vancouver homes built before 1980 may contain asbestos. Given the density of housing stock from that era across East Vancouver, Burnaby, North Vancouver, Coquitlam, and Surrey, this affects a very large number of homeowners considering this renovation.
You cannot identify asbestos by looking at a ceiling. The only reliable answer comes from a lab.
WorkSafeBC mandates that any home built prior to 1990 must undergo a professional hazardous materials survey before any renovation work begins. This is not optional, and contractors in BC can legally refuse to work on a site without a certified assessment report.
The testing process involves a qualified professional collecting a small sample from the ceiling texture and sending it to an accredited lab. Results typically come back within 3 to 5 business days. Testing costs in BC generally run between $250 and $850 depending on the number of samples and the lab turnaround selected.
If the result comes back clear, you have a straightforward path forward. If asbestos is detected, asbestos abatement work must now be done by companies licensed through WorkSafeBC - a requirement that came into effect January 1, 2024 and is the first of its kind in Canada. You can verify a contractor's licence status directly on the WorkSafeBC website.
Testing is the least expensive safety step in the entire project. Skipping it to save a few hundred dollars and then discovering asbestos mid-job is among the most costly mistakes a homeowner can make.
Once you know what your ceiling contains, the next decision is how to address it. There are two main approaches to getting a smooth, modern ceiling finish.
Popcorn ceiling removal involves wetting the texture to soften it, then scraping it away from the drywall surface. When the ceiling is asbestos-free and the texture is unpainted, this is often the faster and lower-cost route to a finished result.
Skim coating involves applying a thin layer of joint compound over the existing texture to create a smooth surface without removing the popcorn at all. If the popcorn texture is painted, sits on concrete, has multiple coats, or is suspected of containing asbestos, a skim coat plan can be cleaner and more predictable in Vancouver. It also avoids the dust and mess that come with scraping.
The right choice depends on your ceiling's specific condition. A painted popcorn ceiling absorbs water differently and is harder to scrape cleanly, which often makes skim coating the more practical option even for asbestos-free surfaces. Your contractor should be able to walk you through the trade-offs based on what they're looking at.
.jpg)
For asbestos-free ceilings where removal is the chosen approach, here is what the process typically looks like from a professional crew.
The room is cleared and all surfaces - floors, walls, fixtures - are fully masked and protected. Plastic sheeting goes up to contain dust and debris. The ceiling texture is wetted in sections using a garden sprayer, then allowed to absorb moisture before scraping begins.
Scraping requires care. The goal is to remove the texture without gouging the drywall paper beneath, which would require additional repairs before the ceiling can be finished. A skilled crew works methodically across the ceiling, managing both the moisture and the scraping pressure.
Once the texture is removed, the ceiling surface almost always needs some level of repair - skim coating to fill low spots, smooth over scrape marks, and create a consistent surface for paint. This finishing work is what determines how the ceiling ultimately looks, and it's where the quality of the result is really decided.
You can take a look at completed Pro Works projects to get a sense of what a properly finished ceiling looks like in practice.
Popcorn ceiling removal is the beginning of the project, not the end. Once the texture is gone and any drywall repairs are complete, the ceiling needs to be primed and painted before the job is finished.
Primer is not optional on a skim-coated or freshly repaired ceiling. New joint compound is highly porous and absorbs paint unevenly without a proper primer coat - skipping this step leads to sheen variation and a patchy finish. A high-hide or PVA primer applied evenly across the full ceiling gives the topcoat a consistent surface to adhere to.
For the topcoat, flat or matte ceiling paint is the standard choice. It minimizes the appearance of surface imperfections and diffuses light evenly - both important qualities on a ceiling that has been repaired and refinished. You can read more about paint selection for ceilings in the Pro Works guide to textured ceiling painting.
The Pro Works team handles the priming and painting phase of ceiling renovation projects across Metro Vancouver. Understanding how we approach each project gives you a clear picture of what to expect from that phase of the work.
Pricing for popcorn ceiling removal in Vancouver varies depending on whether asbestos is involved, the ceiling's condition, height and access, and whether the quote includes the full finished result or just the removal step.
For asbestos-free ceilings, professional removal in Metro Vancouver typically runs $3 to $6 per square foot in CAD, depending on ceiling height, fixture count, and whether a skim coat finish is included.
For a professional, finished result - covering prep, dust control, repairs, prime, and paint - most Vancouver homeowners in 2026 land somewhere between $6 and $12 per square foot, with asbestos and painted texture being the biggest price multipliers.
When asbestos is present, the abatement component adds substantially to the total. Medium-sized asbestos projects including popcorn ceiling removal typically run between $2,000 and $8,000 depending on the area involved and the complexity of containment and disposal.
A few factors that push costs toward the higher end of any range:
When comparing quotes, confirm what each one includes. Some quotes cover removal only; others include skim coating, primer, and paint. A lower per-square-foot number that excludes the finishing work isn't necessarily the better deal.
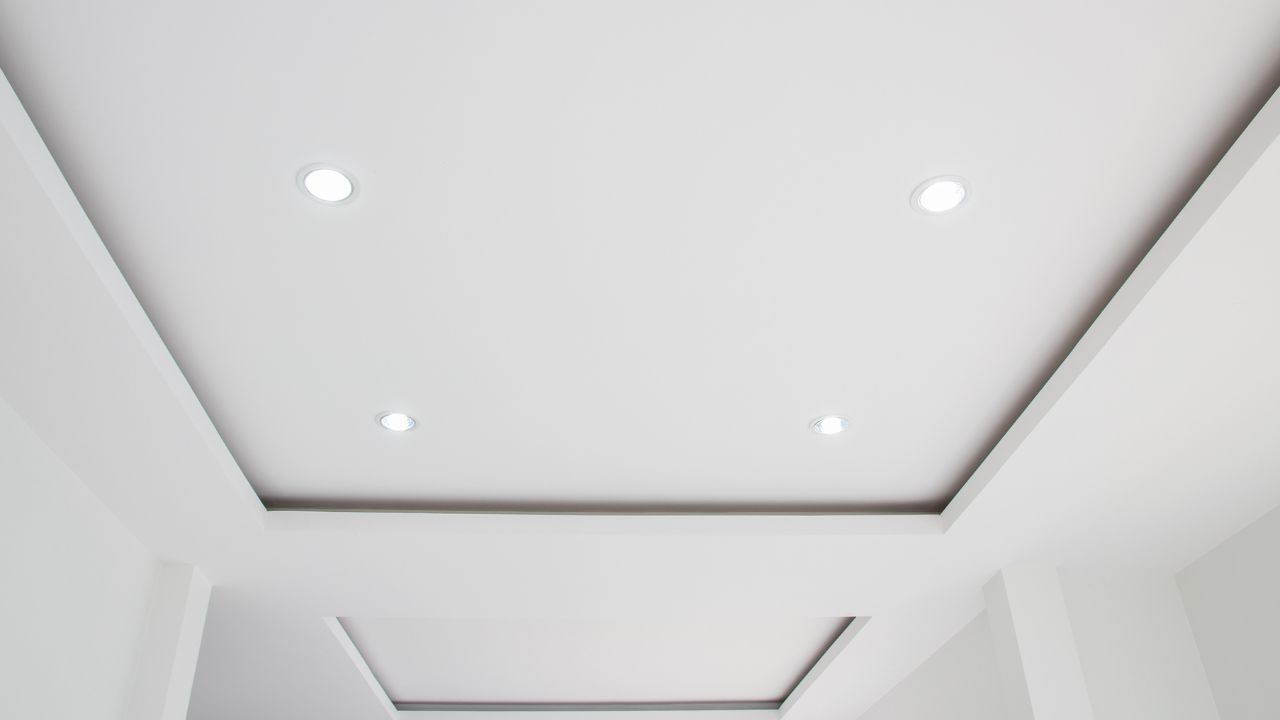
Popcorn ceiling removal in Vancouver is a project worth doing properly. The difference between a ceiling that looks genuinely finished and one that still carries the visual traces of a rushed scrape job comes down entirely to the steps that follow removal - the repairs, the skim coat, the primer, and the paint.
When you're at the stage of planning the finishing work on your ceiling, the Pro Works team is ready to help. Get in touch for a free quote and we'll walk you through what your ceiling needs to look its best.
Does my Vancouver home's popcorn ceiling contain asbestos?
If your home was built before 1990, it may. The only way to know for certain is to have a sample tested by an accredited laboratory. You cannot identify asbestos by appearance, and WorkSafeBC requires testing before any removal or renovation work begins on homes built in this era.
Can I remove a popcorn ceiling myself in BC?
If the ceiling tests negative for asbestos, DIY removal is technically possible, though it involves significant prep, mess, and the risk of drywall damage if not done carefully. If asbestos is present, the work must be performed by a WorkSafeBC-licensed abatement contractor - this is a legal requirement, not a recommendation.
How long does popcorn ceiling removal take?
A single average-sized room typically takes a professional crew one to two days, including prep, scraping, and initial repairs. Larger spaces, painted ceilings, or ceilings with significant damage can extend the timeline. The priming and painting phase that follows adds additional time depending on dry time and the number of coats required.
What is the difference between removal and skim coating?
Removal means scraping the texture off the existing drywall surface. Skim coating means applying a thin layer of joint compound over the texture to create a smooth surface without removing the popcorn. For painted or suspect ceilings, skim coating is often the cleaner and more predictable option. Your contractor can advise which approach suits your specific ceiling.
What happens to the ceiling after the popcorn texture is removed?
Once the texture is gone, the ceiling surface typically needs repairs, followed by skim coating to create an even surface, priming, and two coats of ceiling paint. The quality of these finishing steps determines how the final result looks, particularly under natural light or directional lighting.