

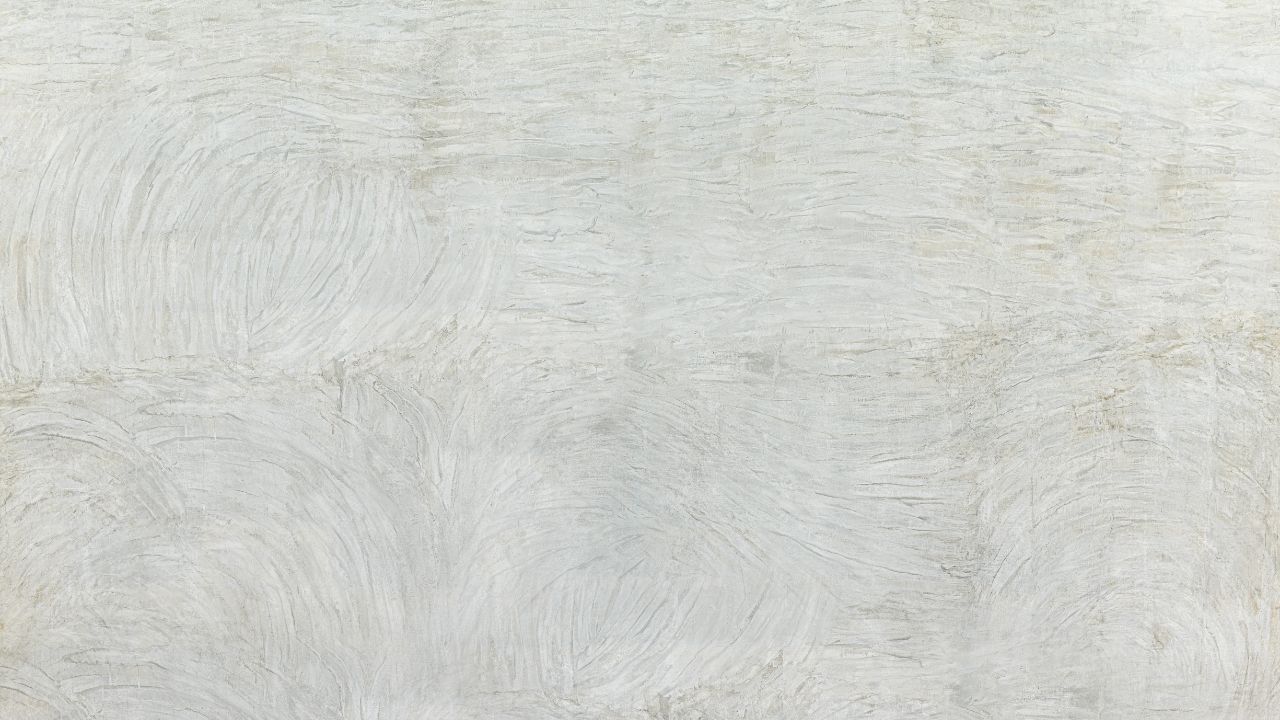
Limewash is one of those finishes that looks deceptively simple in photos and turns out to be a genuinely rewarding project when you understand how it works. The soft, layered, almost-translucent look it creates has been used on walls for centuries - and it's made a strong comeback in contemporary interiors, appearing on everything from bedroom feature walls to brick fireplaces to entire open-plan living areas.
If you've been wondering how to limewash a wall in your own home, this guide covers everything from surface preparation to application technique to what to watch out for. It's a forgiving finish to work with, but the prep work and a few key technique details are what separate a result that looks intentional from one that looks patchy.
For projects that go beyond a single accent wall - a full interior, older plaster, or textured surfaces - the Pro Works painting team can help you get the finish right the first time.
.jpg)
Traditional limewash is made from slaked lime and water, sometimes with natural pigments added for colour. When applied to a porous surface, it carbonates as it cures - reacting with carbon dioxide in the air to form calcium carbonate, which bonds to the wall and develops a characteristic soft, matte, slightly chalky finish.
Unlike standard paint, limewash is breathable. It allows moisture to pass through the wall surface rather than trapping it, which makes it particularly well-suited to older homes with plaster walls and a natural choice for anyone interested in low-VOC, eco-friendly finishes.
The visual appeal is harder to manufacture with regular paint. The colour shifts subtly depending on the light - warmer at certain times of day, cooler at others - and the layered, slightly uneven quality is part of what makes it feel organic rather than flat. It improves with age, developing a patina that painted walls don't.
Modern pre-mixed lime paints have made the technique more accessible, but the application method - and the surface preparation - still matters.
There are two main routes when it comes to how to limewash a wall.
Traditional limewash uses matured lime putty diluted with clean water to a smooth, milk-like consistency - roughly one part lime to two parts water. This is the authentic product and bonds directly to porous masonry, plaster, and brick without requiring a primer on the right surface. It requires more preparation and experience to apply consistently.
Modern lime paint (sold premixed by brands like Portola, LIMEPAINTING, and others) is a contemporary lime-based product formulated for easier use on standard drywall. It applies over a mineral primer, comes in a wide range of colours, and is more predictable for homeowners tackling the technique for the first time. The aesthetic is similar to traditional limewash, though the chemistry is slightly different.
For most homeowners limewashing interior drywall walls, a quality pre-mixed lime paint over mineral primer is the more practical approach. Traditional lime putty is better suited to masonry, brick, and plaster surfaces.
Surface compatibility is the most important thing to understand before you start.
Limewash bonds best to porous, breathable surfaces. Raw plaster, brick, concrete, stucco, and lime render are ideal. New, unprimed drywall also takes limewash well with the right mineral primer applied first.
Glossy or sealed surfaces are a problem. A wall with intact gloss or semi-gloss paint won't allow limewash to bond or carbonate correctly. The result tends to peel or look uneven. If your walls are currently finished with a glossy or even a satin paint, you'll need to either sand the surface to open it up, apply a mineral bonding primer specifically designed for limewash, or use a faux limewash technique with a diluted latex paint (which mimics the look but doesn't have the same properties as true limewash).
It's also worth knowing that limewash is not as washable as standard paint. It can chalk off lightly onto clothing or furniture if brushed against, and strong cleaning products will strip the finish. It's best suited to walls that won't see constant moisture or heavy contact - living rooms, bedrooms, and hallways rather than bathrooms or kitchens.
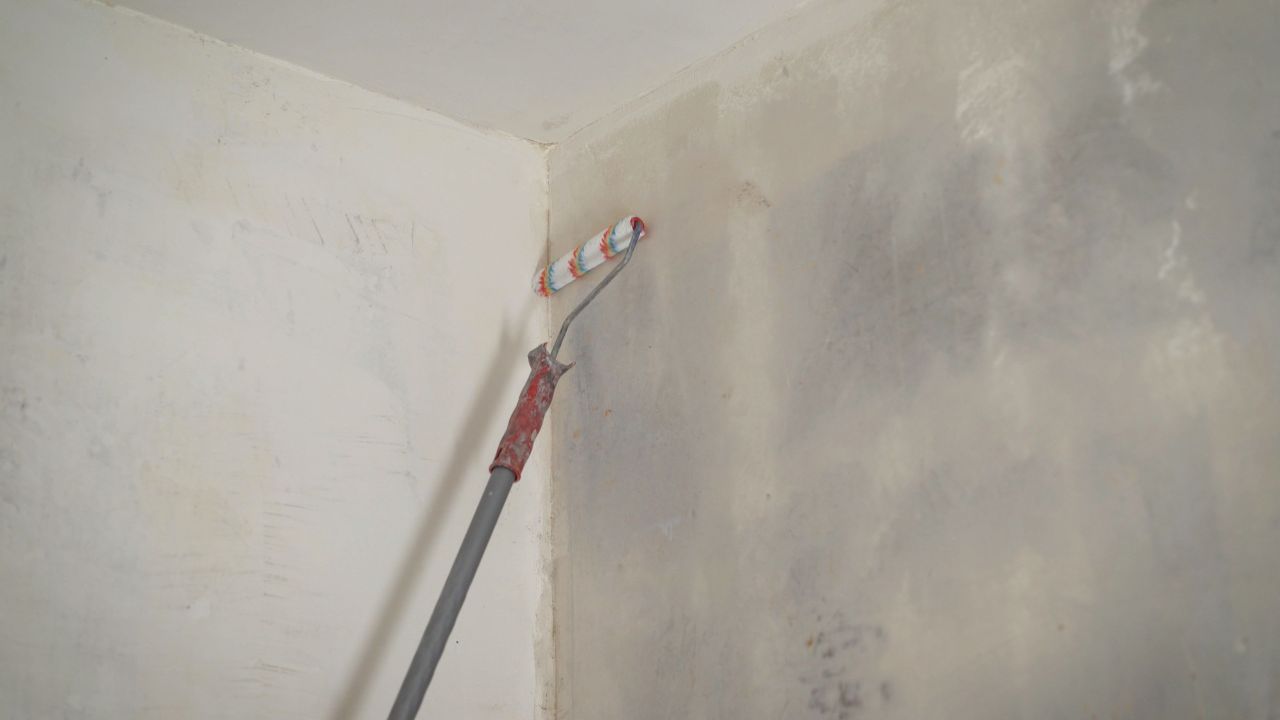
Step 1: Prepare the surface
Clean the wall thoroughly with warm water and a mild detergent, then rinse and allow to dry completely. Fill any holes or cracks with patching compound, sand smooth once dry, and wipe away dust.
If the surface is new drywall or a previously painted wall, apply a mineral primer across the entire surface and allow to cure before continuing. Even absorption is everything with limewash, and primer is what makes that consistent.
Step 2: Test your colour
This step is easy to skip and almost always worth doing. Apply a patch of limewash in an inconspicuous area and allow it to dry fully for 24 hours. Limewash dries significantly lighter than it looks when wet, and the colour shifts noticeably between morning and evening light. What looks right at noon can feel different at dusk - check it at both before committing to the full wall.
Step 3: Tape and protect
Apply painter's tape along baseboards, trim, and ceiling edges. Lay drop cloths across the floor. If you're limewashing only one wall, tape the adjacent walls carefully - wet limewash on a corner that isn't being treated is difficult to clean without leaving a mark.
Step 4: Apply the first coat
Stir or shake the limewash thoroughly before starting, and continue stirring as you work. Load the brush about a quarter of the way up the bristles - not fully saturated.
Apply in a loose cross-hatch motion: diagonal strokes in one direction, then crossing strokes over them in the opposite direction. Work in sections of roughly two to three square feet, depositing most of the paint in the centre of each section and feathering out toward the edges to avoid hard lines between sections. Keep a wet edge and blend into the section beside it while the paint is still wet.
Don't aim for full coverage on the first coat. Thin coats are the key to the dimensional, layered quality that makes limewash look the way it does. If the first coat looks too light or patchy, that's normal.
Step 5: Allow to dry and assess
Allow the first coat to dry fully - typically two hours, longer in humid conditions. As it dries, the colour will lighten and the texture will become more apparent. Step back and look at the full wall in natural light before deciding on next steps.
Step 6: Apply a second coat
Using the same cross-hatch technique, apply a second thin coat over the first. Work section by section in the same way, blending edges while wet. Two coats suit most walls and most limewash products. A third thin coat can be applied for more consistency where needed, but additional coats also reduce the depth and variation that give the finish its character - more coats means more opaque, which isn't always better.
Step 7: Finishing and curing
Once the final coat is dry, remove the painter's tape. Allow the wall to cure fully before washing or touching it - this typically takes several days. Some lime products benefit from a light misting with water during the curing process to help the lime carbonate properly, so check the manufacturer's guidance.
A matte sealer is optional but adds useful protection in higher-traffic areas. Use one specifically formulated for limewash if you choose to seal.
Stay loose. The cross-hatch technique works because the strokes are irregular, not mechanical. If you're too precise or consistent, the result starts to look uniform and loses the organic quality that makes limewash interesting.
Work in manageable sections and keep edges wet. Letting one section dry before blending into the next creates visible seams. Work at a pace that lets you blend while the paint is still workable.
Check the wall in multiple lighting conditions. Limewash reads differently in morning light, artificial light, and evening sun. According to Sherwin-Williams, assessing limewash walls in both natural and artificial light before adding more coats is one of the most important steps in achieving a finish you'll be happy with long-term.
Don't overload the brush. A heavily loaded brush deposits too much paint at once, which dries unevenly and looks blotchy rather than layered. Keep loads light and build up gradually.
Accept imperfection. The finish is meant to be uneven. Slight variation in tone, subtle brushwork, and gentle colour shifts are what make it look authentic. Trying to fix every perceived inconsistency usually makes things worse - step back and assess the full wall rather than scrutinising individual sections up close.
For a single accent wall in good condition, limewashing is a reasonable DIY project for a patient homeowner with the right materials. For anything more involved, the calculus changes.
Large rooms, entire homes, older plaster walls, textured surfaces, or walls that need significant prep before limewash can be applied are all situations where the complexity and time investment climb quickly. Getting the prep wrong - particularly on a previously painted glossy wall or a surface with moisture issues - tends to produce a result that needs to be redone.
Specialist decorative finishes like limewash are also one of the areas where the difference between a professional result and an amateur one is most visible. The technique looks easy in the hands of someone experienced, and the number of variables that affect the final finish is higher than most people expect going in. You can browse Pro Works interior projects to see the standard of finish that comes from a well-executed interior job.
The Pro Works process covers how we approach specialist interior work from surface assessment through to final coat.
.jpg)
Limewash is one of the most satisfying interior finishes to live with once it's done well. It changes with the light, improves over time, and adds something to a room that standard paint simply can't replicate. The technique isn't complicated, but the preparation and application details matter more than they do with a standard paint job.
If you're ready to get started on your own walls or would like professional help getting the finish right, reach out to the Pro Works team for a free quote.
Can you limewash over painted walls?
It depends on the existing finish. Limewash bonds well to matte or flat paint surfaces that have some porosity. Glossy, satin, or sealed finishes prevent proper bonding and should be sanded or primed with a mineral bonding primer before limewash is applied. If the existing paint is in poor condition or heavily layered, a professional assessment of the wall before starting is worthwhile.
How many coats of limewash does a wall need?
Two coats is standard for most walls and products. A third thin coat can be added for more consistency, but keep in mind that additional coats reduce the depth and dimensional quality of the finish. More coats equals more opaque, which works against the characteristic look of limewash.
Does limewash wash off?
Traditional limewash is not as durable or washable as standard paint. It can chalk off lightly onto surfaces that brush against it, and strong cleaning products will strip or damage the finish. For this reason it's best suited to walls that don't see heavy contact or regular moisture. A matte sealer applied after curing improves durability in higher-traffic areas.
How long does limewash take to dry between coats?
Allow at least two hours between coats, longer in humid conditions. The wall should feel completely dry and have returned to its lighter, dried colour before the next coat is applied. Rushing the second coat before the first is dry produces uneven results.
Is limewash eco-friendly?
Traditional limewash is one of the most environmentally friendly wall finishes available. It contains no synthetic chemicals or VOCs, is made from natural limestone, and its breathable properties can help regulate humidity and prevent mould growth in walls. Modern lime paint products vary in their formulation, so check the product's specifications if eco-credentials are a priority.